How to use the Variable Maps Service
The following tech note will walk you through the process of generating your own Variable Maps order through the AccuZIP website.
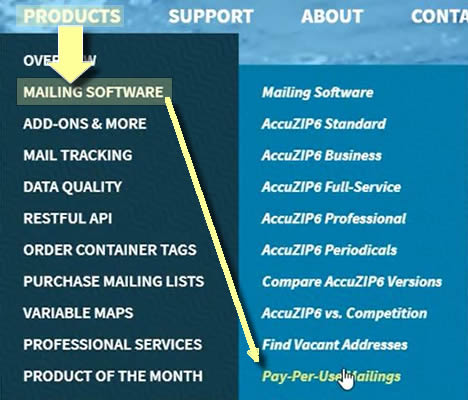
Visit the AccuZIP Pay Per Use page.
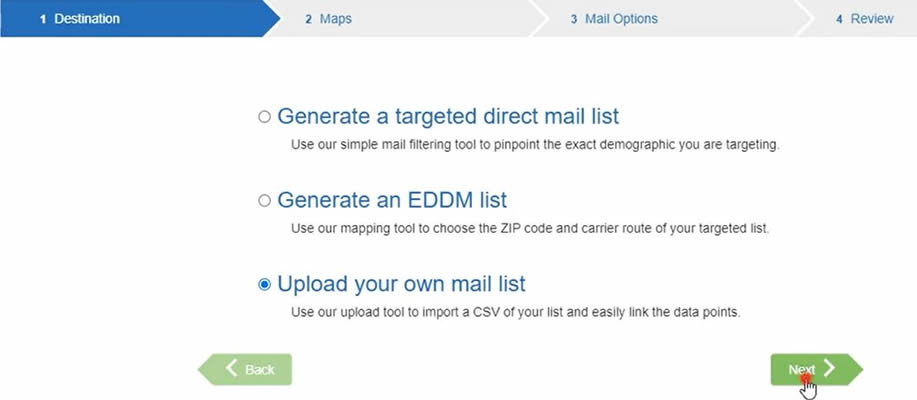
Choose a mailing list option.
You can use the Variable Maps service on a targeted direct mail list that you can purchase from AccuZIP, or you can upload your own mail list. Choose to generate a targeted mail list or upload your own mail list, then click Next.
Assign field names to your data.
If uploading your own mail list, browse to select your list (which must be in a .csv format), then make sure field names are assigned properly to your data. If your city, state, and ZIP Code information appears in a single field, assign the City field name to this.
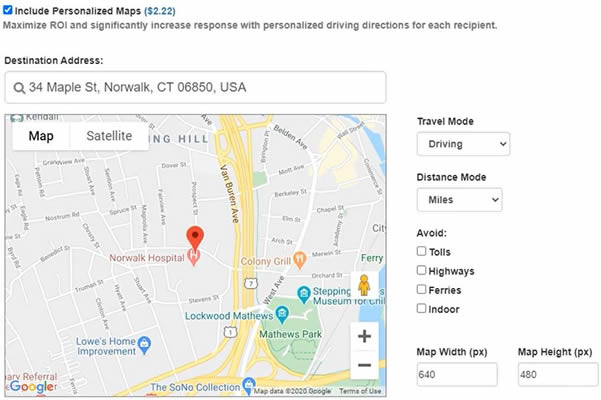
Check the box marked Include Personalized Maps. You'll see the price of the maps displayed next to this item.

Enter the destination.
The Variable Maps service provides driving directions from an origin location (the addresses in your database) to a destination. You can use more than one destination with this service, and the AccuZIP Variable Maps service will choose the closest destination to each origin address.
Type in a destination address.
Adjust the street view.
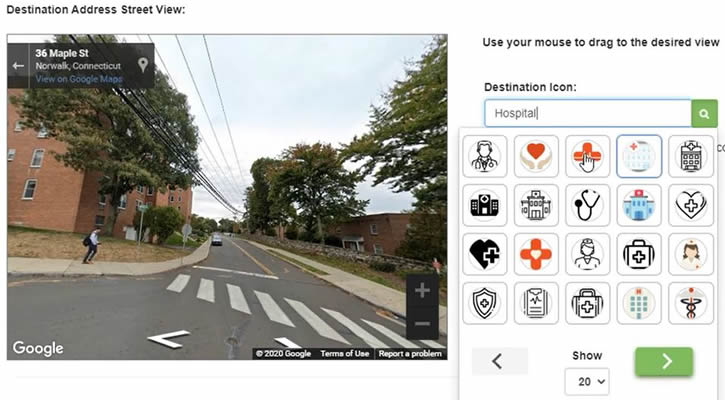
After you type the destination address, the Destination Address Street View will update. With each variable maps purchase, you'll receive a street view image of the destination in .jpg format. Adjust the angle of the street view if you'll be using this street view picture.
Choose a destination icon.
You can upload your own icon, or you can choose from a wide variety. Start by entering a category into the Destination Icon search box. For instance, if you would like to choose from a variety of restaurant icons, type restaurant into the Destination Icon search box.
Add the destination map.
After you've selected your icon and adjusted the street view, click on Add Destination Map. The destination address and your destination icon will appear in the Destination Address List.
It's possible to add more destinations by repeating these steps:
- Enter the destination address
- Adjust the street view angle if you'll be using that image
- Select or upload a destination icon
Select a recipient icon.
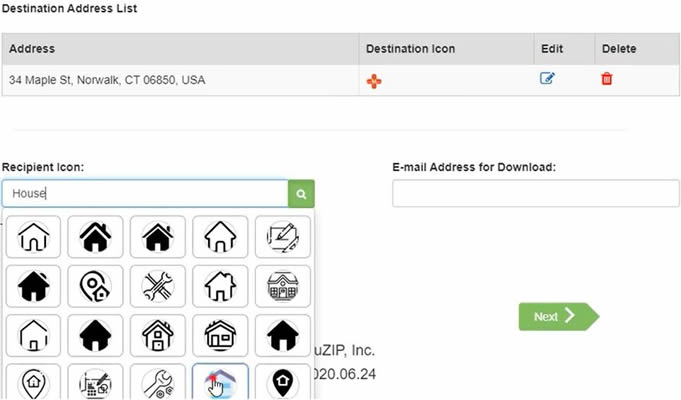
Select a recipient icon by entering a category into the Recipient icon search box, then select the icon of your choice.
Once the variable maps have been created, a link to download the maps will be emailed to you. Enter the email address where you'd like the maps to be sent into the E-mail Address for Download box.
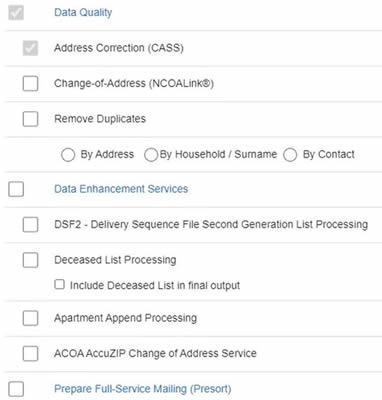
Select or advance past the data quality and presort options.
If you will not be presorting this list, but would rather just download the variable maps, you can leave every box unchecked besides Data Quality and Address Correction (CASS).
Click Next.
Enter credit card information.
Enter credit card information when prompted. The online service will perform CASS Certified address validation on your list. You'll be alerted when this is finished, and at that point, you can download the finished data file, or simply wait for your email. What you download from the web page will not be your maps; those will be provided in a link that is emailed to you, along with a link for your address list.
The maps will arrive by email.
When you download the address list, a new field named map_guid will be added. The values in this field will match the names of the map files.
The .zip file of the maps download will contain a folder named maps, which will contain your maps in .png format, and a folder named streetview, which will contain a .jpg image of the destination building.

